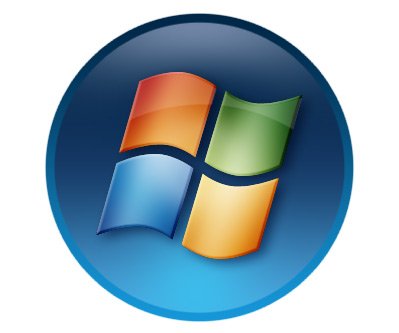
Windows Vista Logo Photoshop Tutorial
Simple step by step tutorial – how to make Windows Vista Logo – Photoshop Tutorial. Learn how to make a mirror and glossy effects, and how to use Photoshop tools – gradient, pen tool, bevel and emboss, eraser tool etc.

Resolution: 800×1200 px
Size: 755KB
Format: PSD
Keywords:
Author: PSD Graphics
Download Photoshop file:
Tutorial:
Create document 640×480 pixels.
Fill it with white color. Create a new layer name it “circle1”. Select Brush Tool (B). Make a circle similar to mine:
Master Diametar: 300px
Hardness: 100%

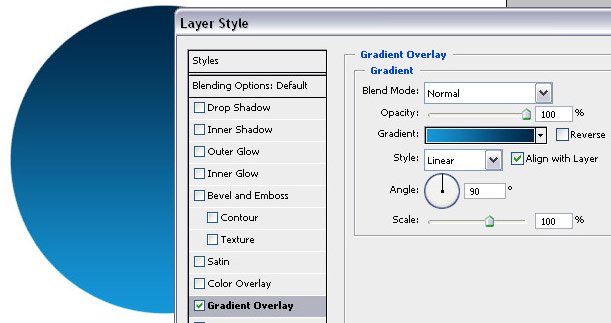
Fill the selection with gradient.
Top:# 022646
Bottom: #1597d5
Duplicate layer (CTRL+J) and name it “circle2”
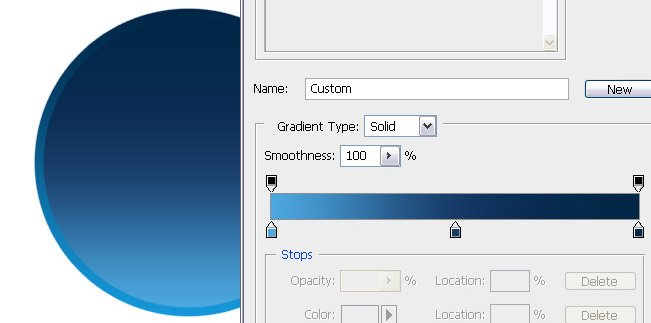
Decrease the layer to 94% and fill with gradient:
Top:# 02244a
Center:#183b61
Bottom:# 49a5e4

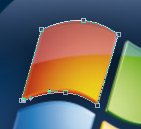
Use Pen Tool (P) to create square shape (with radius).


