Windows Vista Logo Photoshop Tutorial
One click with Brush Tool to create shine similar to mine.
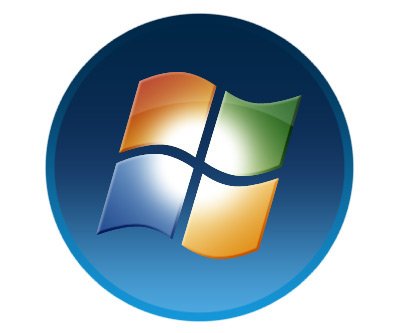
Set ~30% transparency.
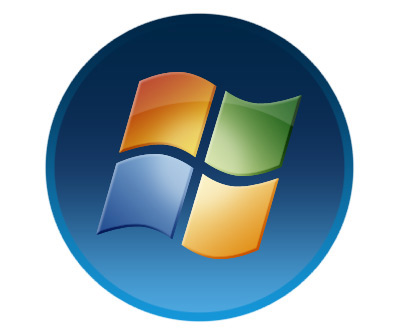
OK, we need the backgroung more glossy.
Create a new layer “sbottom”
Hold down CTRL and click to the “circle2” layer.
Use Brush Tool # 3fb9ea and create a light blue shade at the bottom.
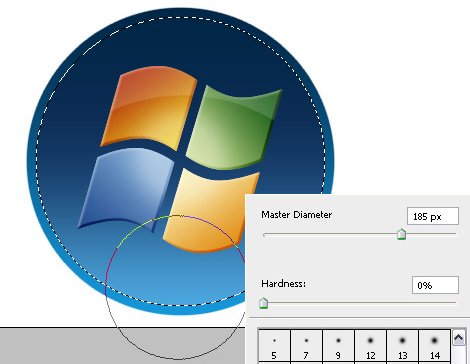
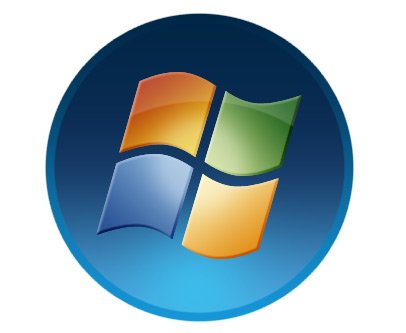
Repeat this action with the top part of your logo.
#6f87a3 color
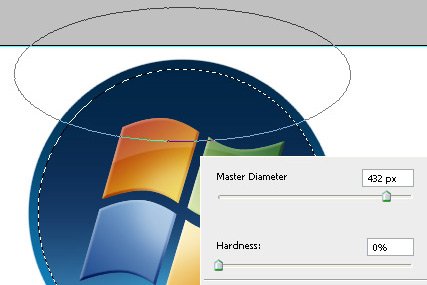
It’s time to add some shadows to the window icon. Merge the window folder (CTRL+E),
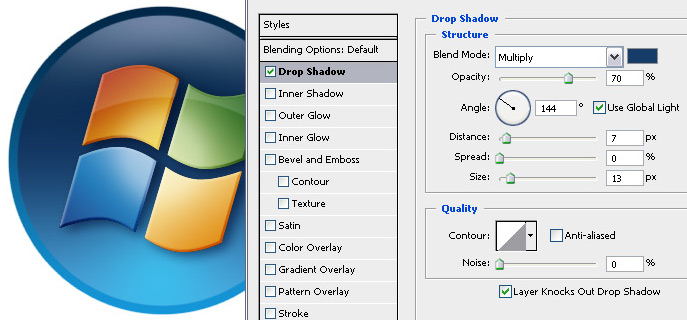
And add a shadow.
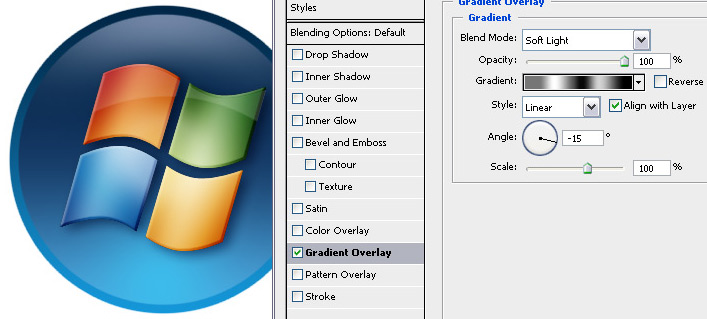
We are almost done. To make the windows icon more wavy apply this Gradient Overlay:
That’s it!
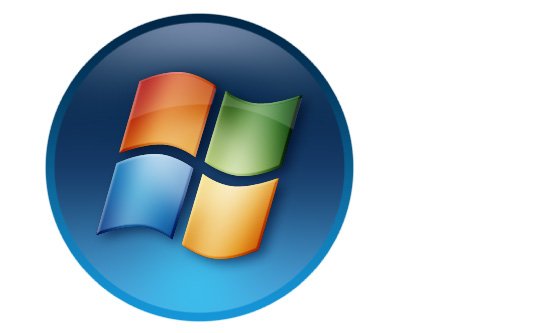
At the end you can add a reflection. Turn off the background (white locked layer at the bottom), merge all layers (CTRL+SHIFT+E). Create a copy of that layer (CTRL+J), then CTRL+T / Flip Vertical. Move down the layer and use Eraser Tool to delete bottom part. Set transparency to 20% or less.
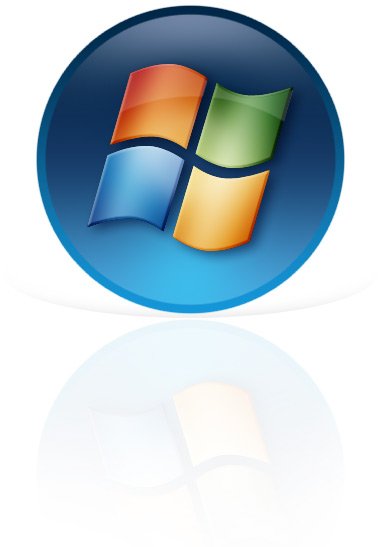
Congratulations, Your are done!
Cheers!

